Managing Audio Alerts
Audio alerts allow users to select and broadcast prerecorded audio files over selected channels. This section explains how to create audio alerts to populate the Alert menus in ICE clients. Upload or Record: The ICE Desktop Audio Alerts page supports both the upload of external .wav files, and recording during the creation of an Audio Alert. Audio Alert File Requirements |  |
To create an audio alert
1. Navigate to Settings > Audio Alerts.
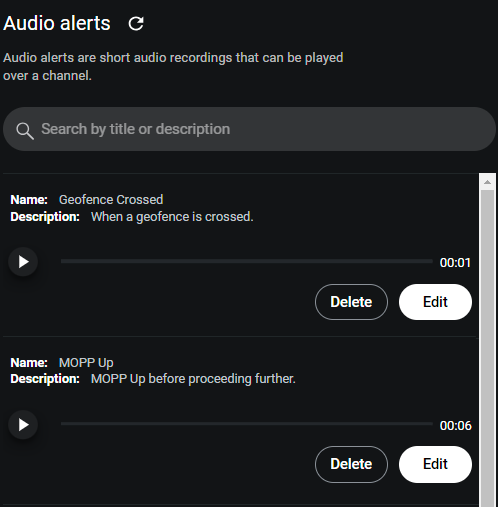
The Audio Alerts list opens.
The Audio Alerts list opens.
2. Click the Add '+' button and then click Create Audio Alert.
3. Name the Alert and provide a Description.
Tip: If you are recording the alert yourself, write what you are going to say in the Description box and then read it back during recording.
4. Click Create Recording or Upload Recording.

5. If you selected Create Recording, then complete the following steps:
A. Click the Record button and speak into your microphone.
B. When done, select the Stop button to stop recording.
C. Use the Delete (trash can) icon to delete and re-record.
D. Click Save when completed.
6. If you selected Upload Recording, then complete the following steps:
A. In the file window, locate and select a .wav file to upload, and then click Upload.
B. Play the attached audio file to confirm it is ready.
7. Click the Create button.
The Audio Alert now appears as a selection in ICE Audio Alert menus.
The Audio Alert now appears as a selection in ICE Audio Alert menus.