Azure Backup
ICE supports backup using Microsoft Azure Blob Storage and Azure Files.
To backup the database using Azure
1. Open the ICE OS Configuration Wizard.
2. Click Backup and Restore.
3. In Storage Location select azureBlobStorage.
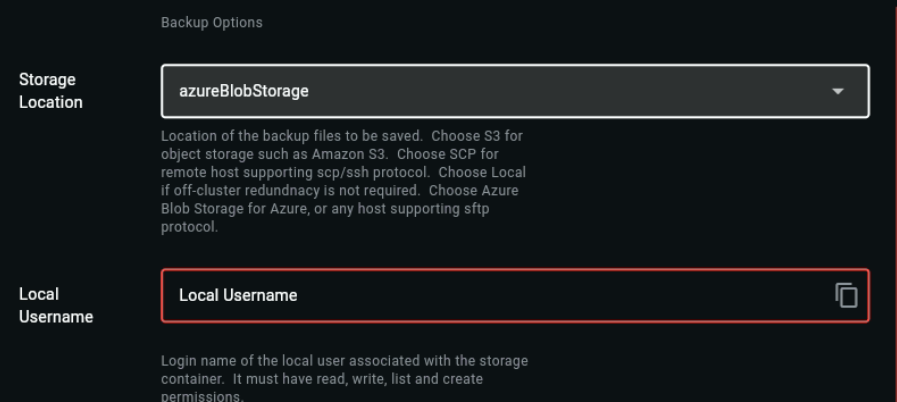

4. In Local Username enter the login name of the local user associated with the storage container.


5. In Storage Container, enter the name of the container associated with the Azure Storage Account (below).
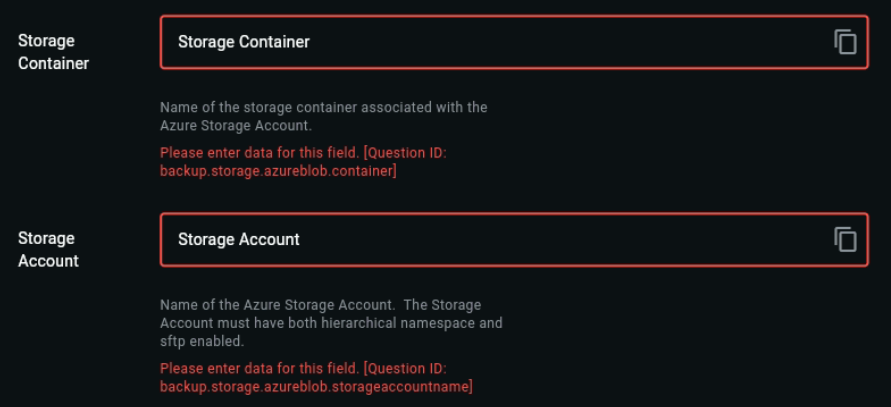

6. In Storage Account, enter the name of the Azure Storage Account. Ensure the account specified is enabled for SFTP and has a hierarchical namespace.


7. Select Backup Options.
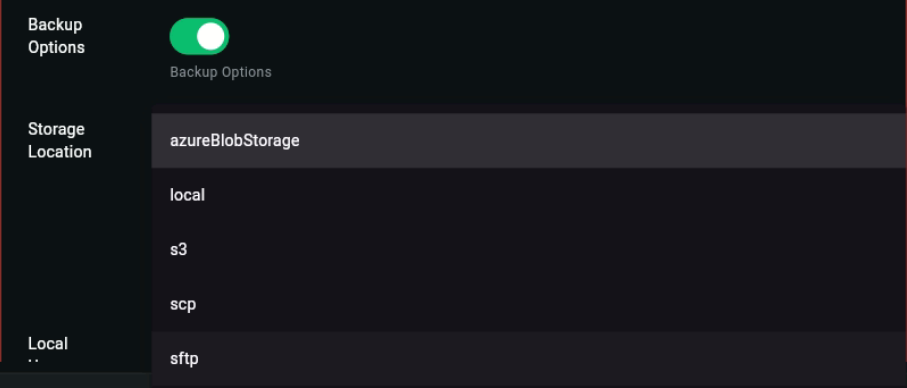

8. In Storage Location, select azureBlobStorage.


9. In Storage Domain, enter the domain name to the Azure Blob Storage.
10. In the Directory field, enter the path to the directory to receive the backup files.
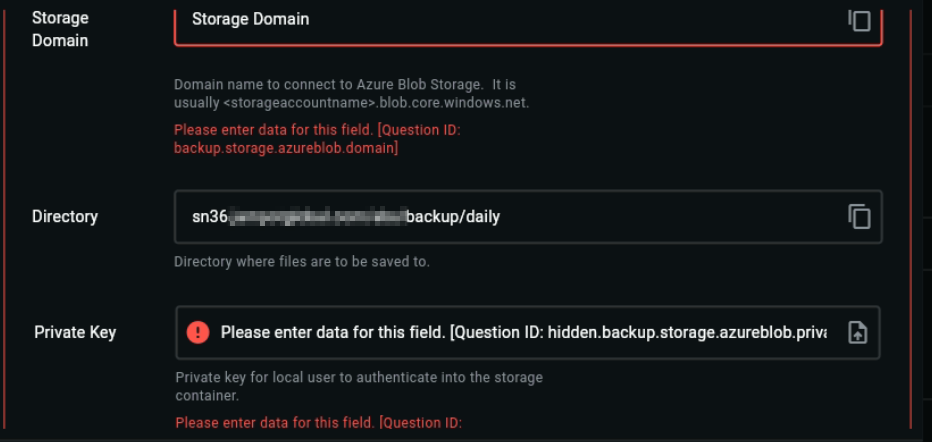

11. In the Private Key field, paste or upload the private key. This key is required to allow the local user to authenticate storage container access.


12. Select Include Archived Recordings if you want to include all audio recordings.
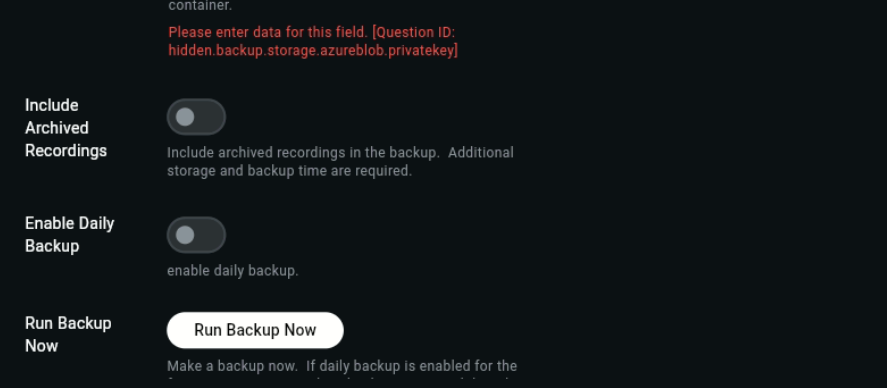

13. Select Enable Daily Backup to run the backup daily.


14. Click Run Backup Now to initiate the backup process.

