
Georedundant Deployments
If you are configuring your ICE Server for georedundancy, then continue with the steps in this section.
Note: Georedundant configuration requires easy access to both the DC1 and DC2 Wizards. If possible, keep both screens logged-in and available. You will need to switch between them while following the instructions in this section.
To complete georedundant setup of DC1 and DC2
1. Restart Kafka Message Replication (DC1)
A. Navigate to the DC1 Finish screen and open the Tools popup by clicking on the wrench icon ( ) in the top, right of the wizard.
B. From the Tools popup, scroll through the list of tools, and select Restart Kafka Message Replication. A message will display indicating when the tool has begun and when it has finished.

C. Open the Status dropdown and verify the Geo Kafka mirror Replication pod is green.
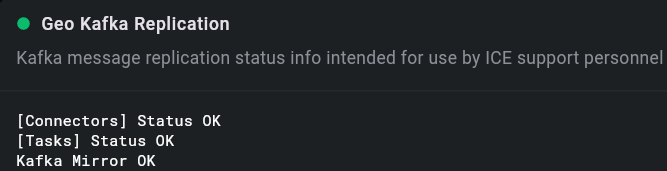
Note: If the pod does not turn green, then rerun the Restart Message Replication tool (repeat step 2 above). If the pod still does not turn green, then halt the upgrade process and contact Instant Connect Technical Support.
2. Restart Kafka Message Replication (DC2)
Note: If the pod does not turn green in DC2, first return to DC1 and rerun the tool, then return to DC2 and rerun the tool. If the pod still does not turn green, then halt the upgrade process and contact Instant Connect Technical Support.
3. Get Database Changeset (DC1)
A. Navigate to the DC1 Finish screen and open the Tools popup by clicking on the wrench icon () in the top, right of the wizard.
B. From the Tools popup, scroll through the list of tools, and select Get Database Changeset.

C. On completion a message will display. Take note of the count.

4. Get Database Changeset (DC2)
A. Navigate to the DC2 Finish screen and select Get Database Changeset, just as you did for DC1, including taking note of the count.
B. Verify that the counts for DC1 and DC2 are identical. If they are not identical, then halt the upgrade process now and contact Instant Connect Technical Support. If they are identical, then continue to the next step.
5. Data Center Resync and Datacenter Reindex (DC1)
A. Navigate to the DC1 Finish screen and open Tools by clicking on the wrench icon () in the top, right of the wizard.
B. From the Tools popup, click Data Center Resync.

C. Once Data Center Resync is completed Click Datacenter Reindex. 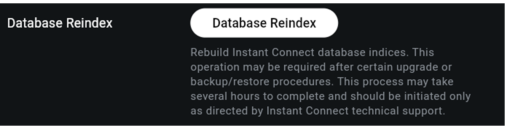
Important: Ops Logs are NOT included in the re-synchronizing of the database, and existing Ops Logs entries will be discarded. If you require Ops Logs see Ops Logs Synchronization.
D. Open the Status dropdown, then open the Pod Status pod and verify the modelmanager job status is Succeeded.

6. Datacenter Resync and Datacenter Reindex (DC2)
Navigate to the DC2 Finish screen and perform a Data Center Resync and Database Reindex, just as you did for DC1, including verifying the modelmanager job status is Succeeded.
The Georedundant ICE Server upgrade is now complete. Proceed to the ICE Multi-Node Georedundant Server Upgrade instructions in the Post Upgrade Steps section (next).