Entra ID – ICE Server Configuration Instructions
The instructions in this section take place on the ICE Server using ICE Desktop.
To configure ICE for Entra ID authentication
1. Launch ICE Desktop and log in with an administrator account.
2. Navigate to the Settings > Organization > Authentication tab.
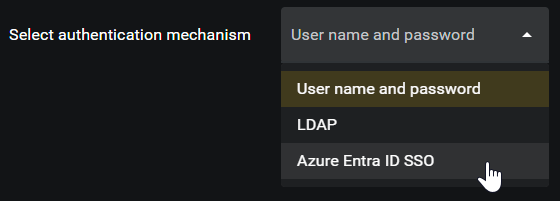
3. In the Authentication type panel, choose Azure Entra ID SSO.


4. In the SSO provider settings panels, perform the following:
A. In Entra ID on Azure, open the app you registered for ICE.
B. Locate the Entra ID Name in the Entra ID Location specified in the table.
C. Copy and paste the values in the Entra ID Name into the ICE Desktop Field.
ICE Desktop Field | Entra ID Name | Entra ID Location |
Audience | Application ID URI | App Registration > Overview |
Authorization URL | OAuth 2.0 authorization endpoint (v2) | App Registration > Overview > Endpoints |
Token URL | OAuth 2.0 token endpoint (v2) | App Registration > Overview > Endpoints |
Redirect URL | Mobile and desktop application redirect URI | App Registration > Manage > Authentication |
Tenant ID | Directory (tentant) ID | App Registration > Overview |
Client ID | Application (client) ID | App Registration > Overview |
OpenID config URL | OpenID Connect metadata document | App Registration > Overview > Endpoints |
Scope | Scopes defined by this API | App Registration > Manage > Expose an API |
5. Select the Import User Groups option if you have configured User Groups in Entra and want them converted into Assignment Groups.
6. Click Save to apply the changes and save the configuration. Click Revert to return to the previous configuration.
7. Test Entra ID
Verify you are able to log in to both ICE Desktop and ICE Mobile applications using Entra ID credentials.
Verify you are able to log in to both ICE Desktop and ICE Mobile applications using Entra ID credentials.
Important: The login flows differ between ICE Desktop and ICE Mobile. Be sure to test all client types used in your organization to access ICE. Verifying one type of client works does not imply the others will also work.